
Set up your Calendar and booking page
See your week, check your appointments and set up how clients book time with you.
Steps
- 1
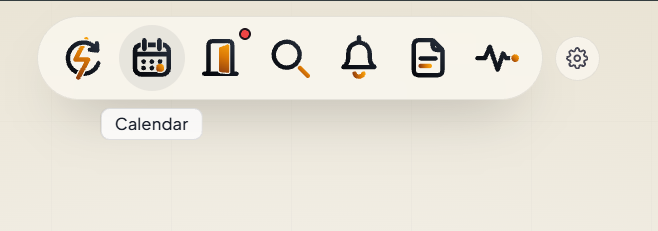
Open Calendar
Click the Calendar icon in the top bar.
- 2
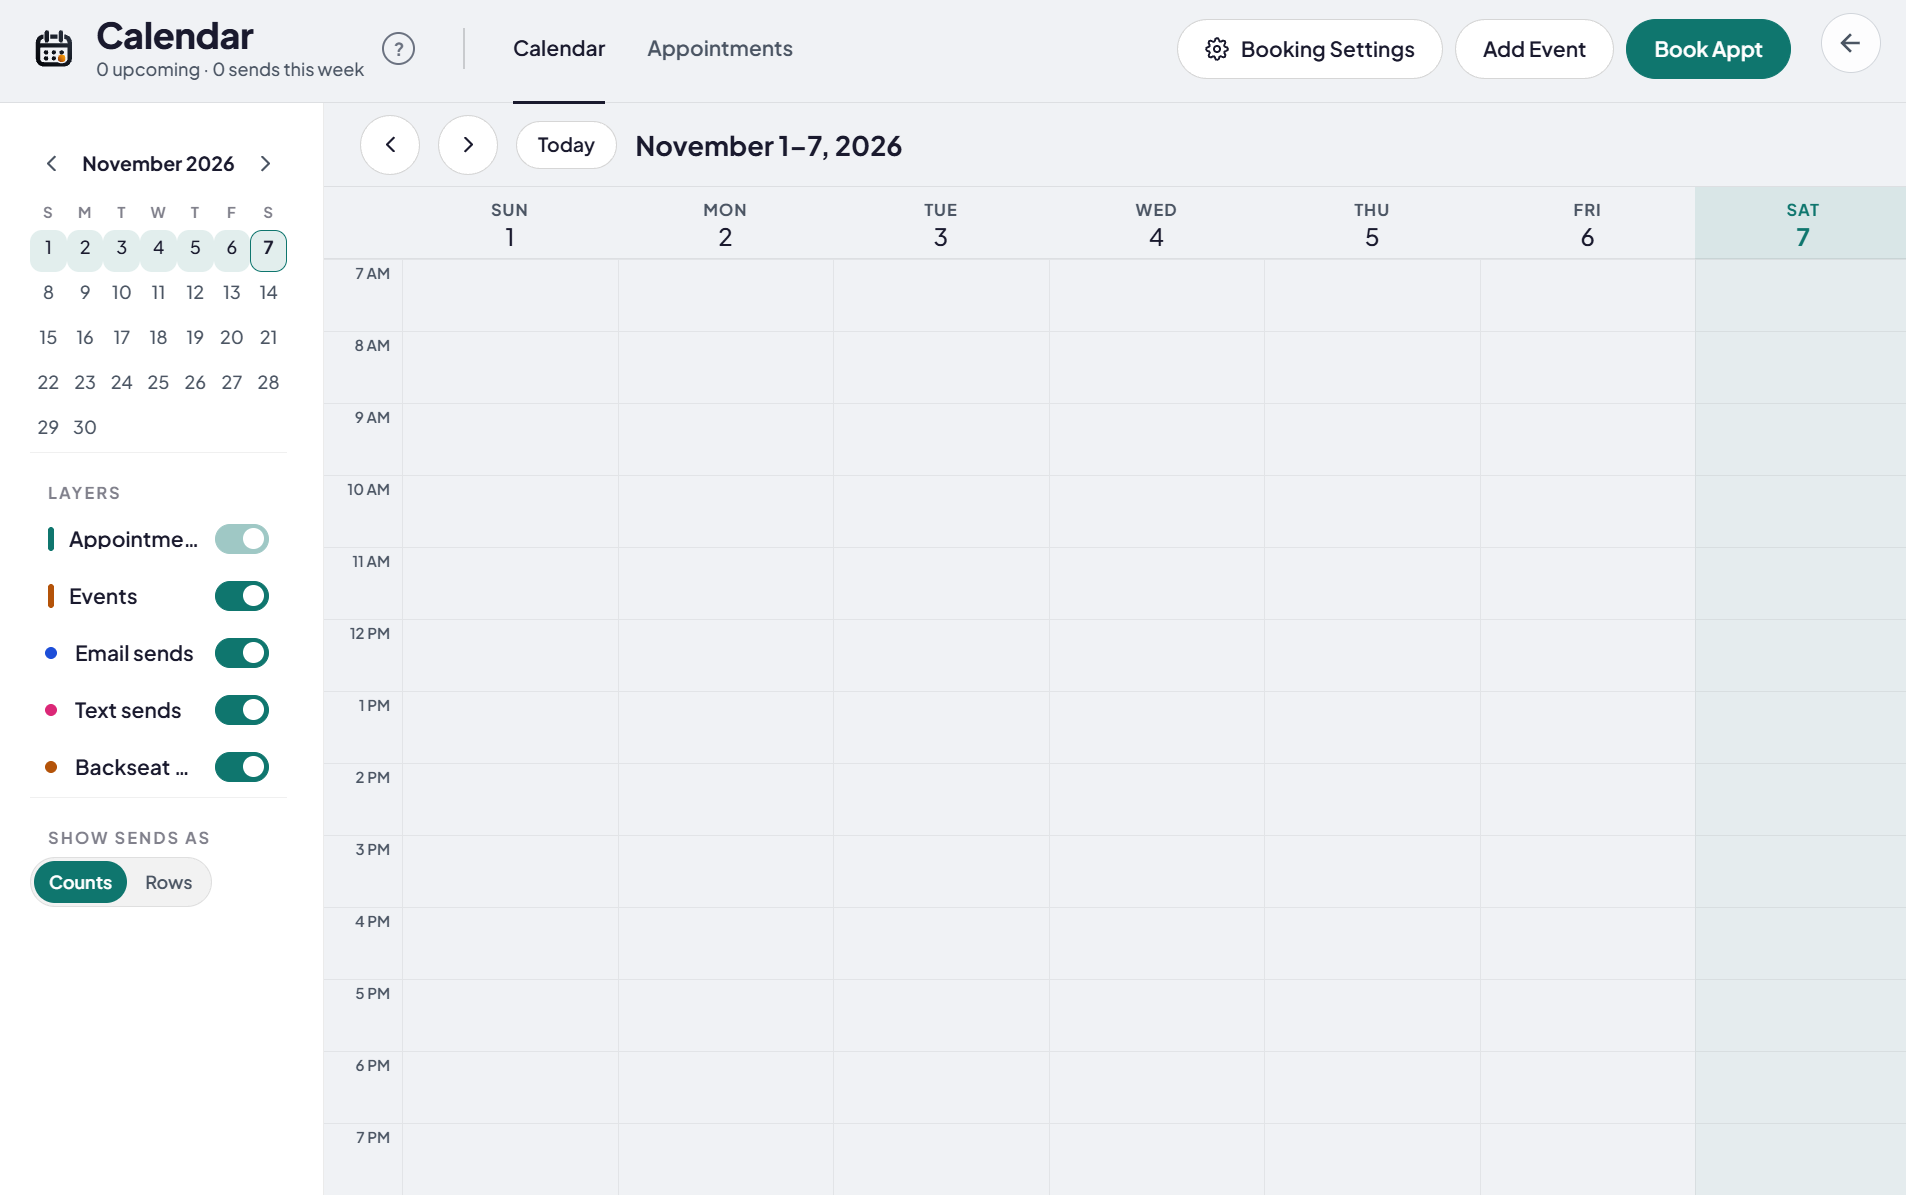
Read your week
Under Layers, show or hide Appointments, Events, Email sends, Text sends and Backseat. Show sends as picks Counts or Rows.
- 3
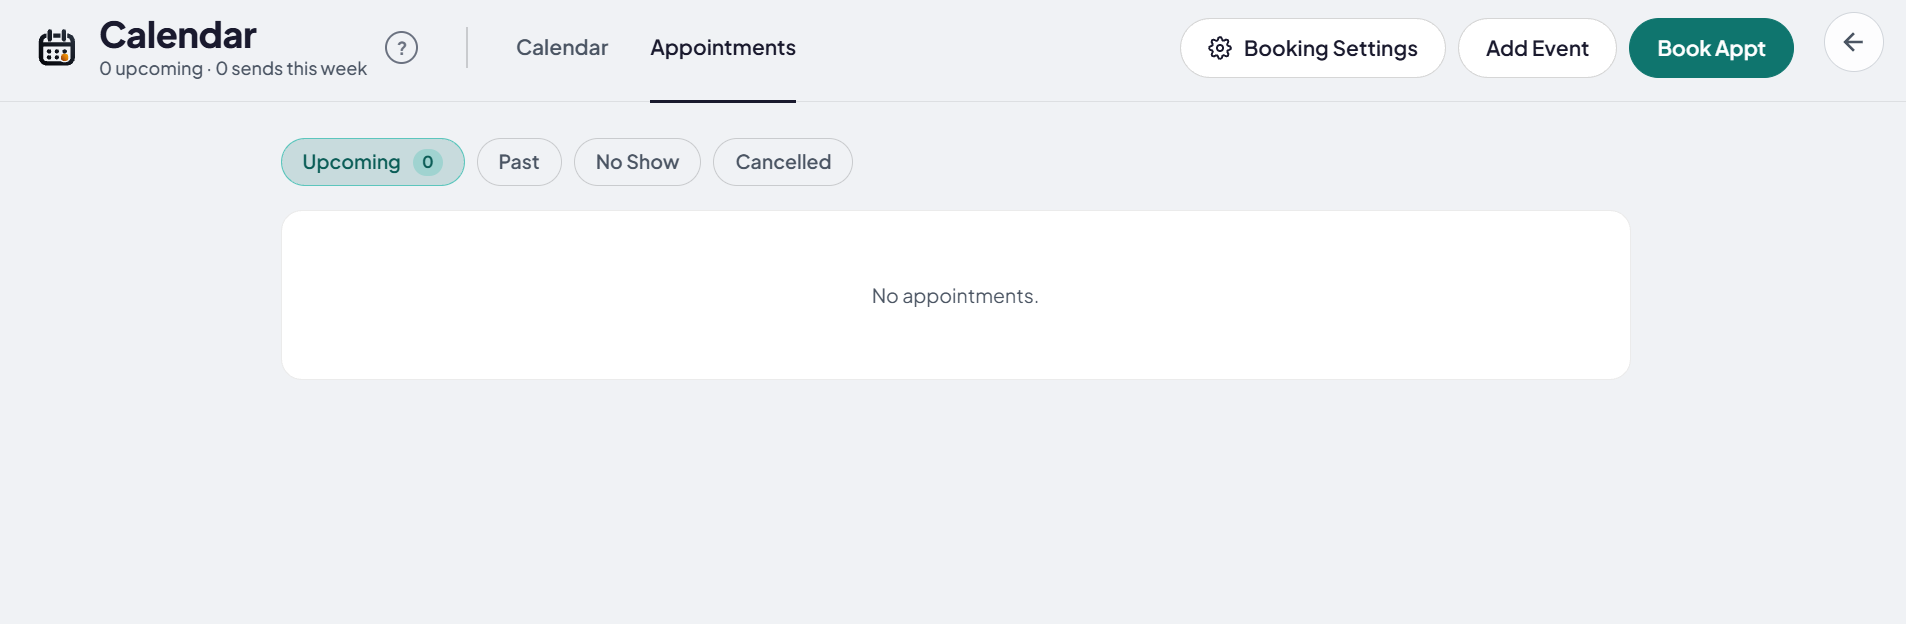
Check your appointments
Click the Appointments tab. Use Upcoming, Past, No Show and Cancelled to sort them.
- 4
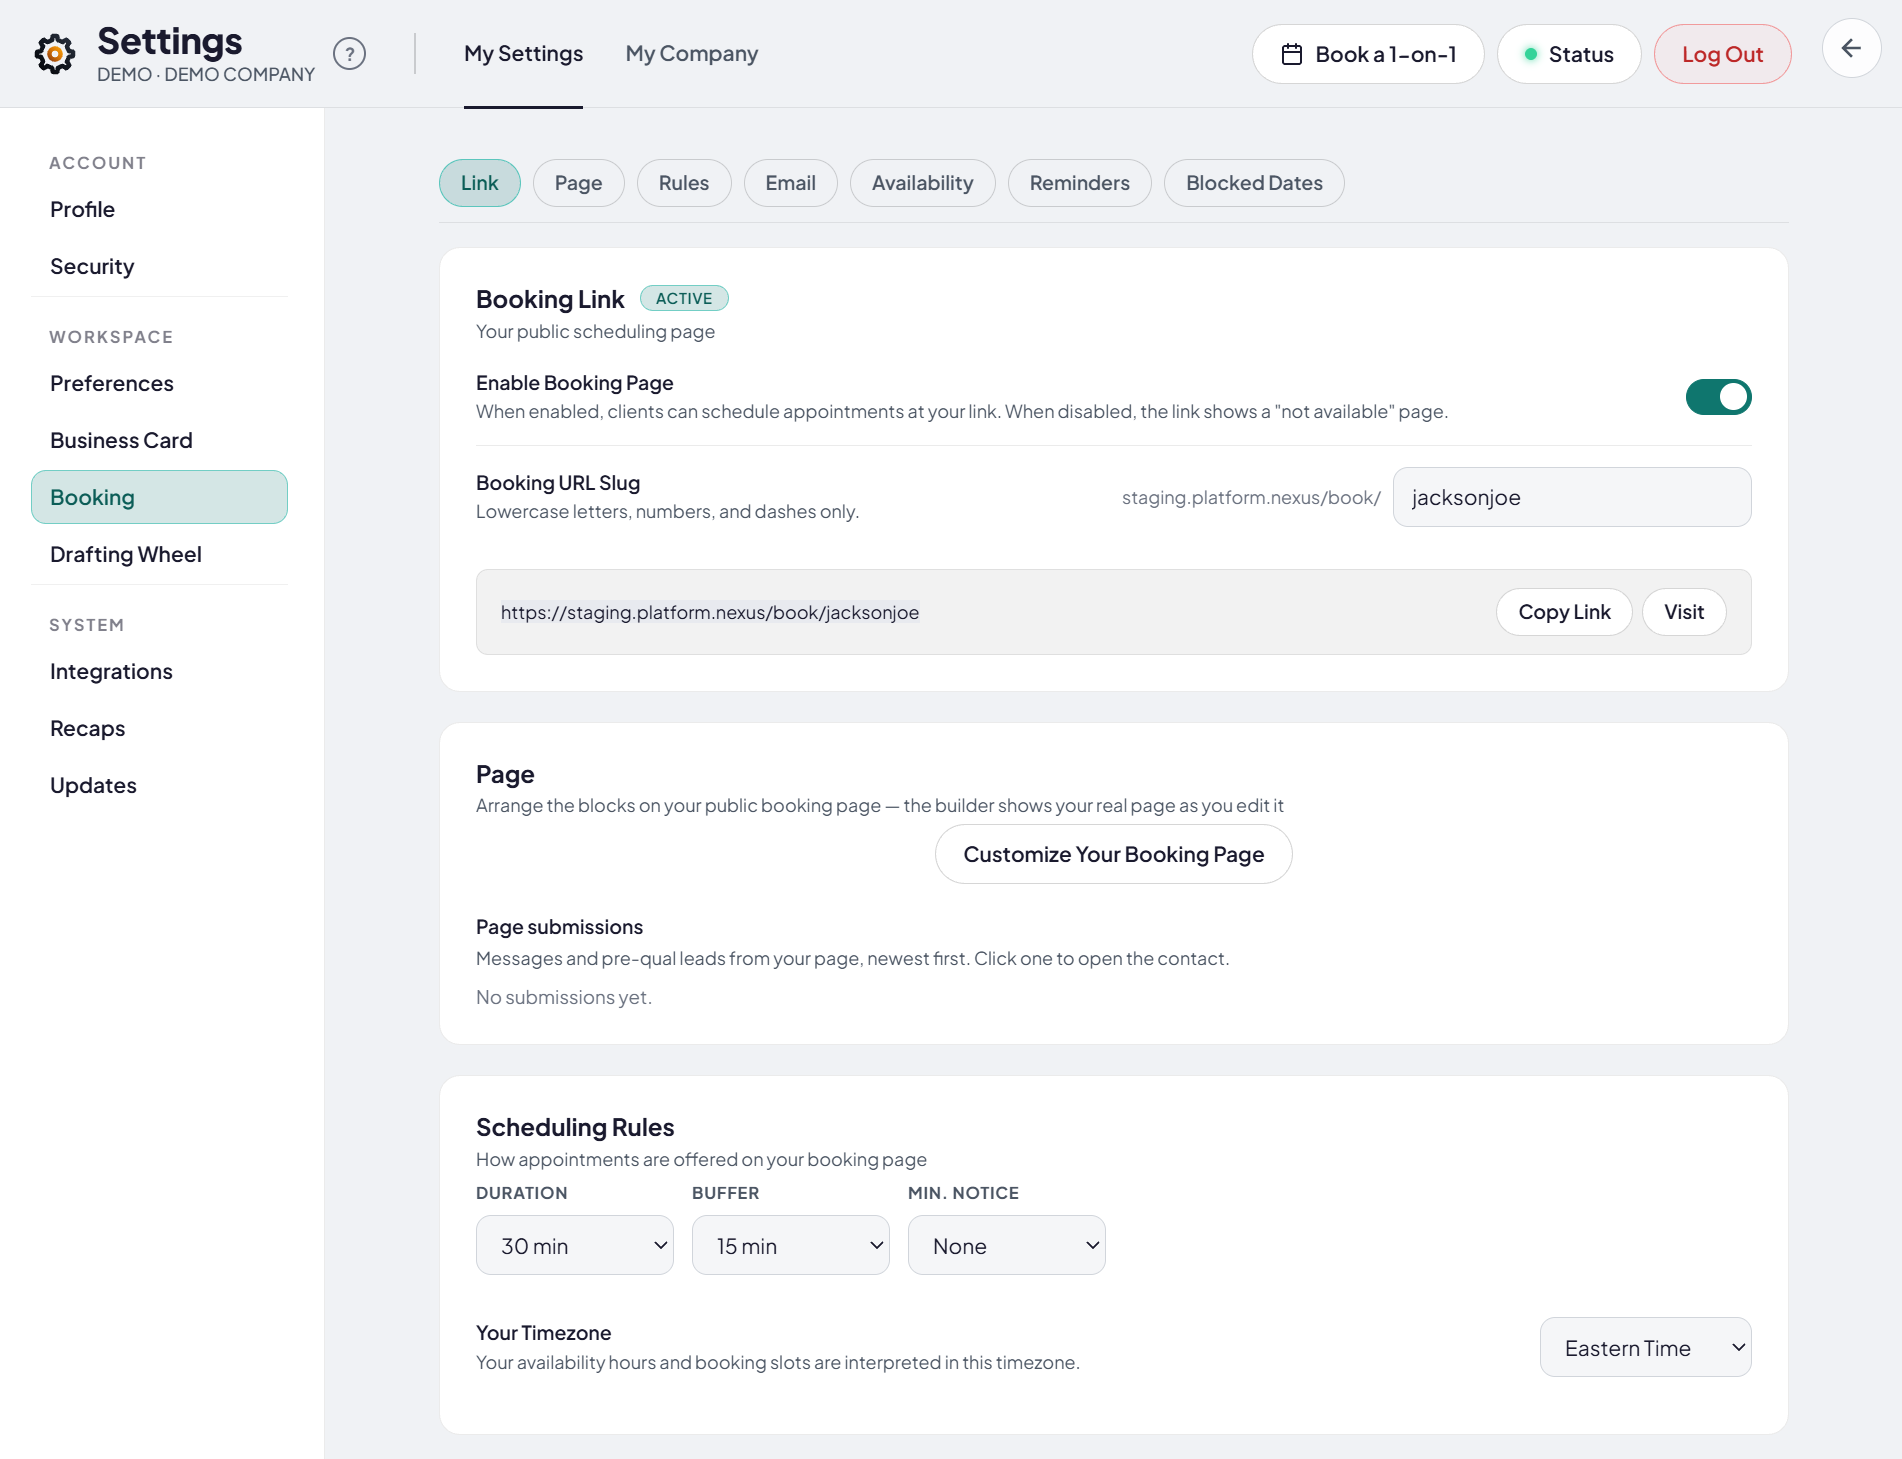
Turn on your booking page
Click Booking Settings. Turn on Enable Booking Page, pick your link in Booking URL Slug, then click Copy Link to share it.
- 5
Set your rules and hours
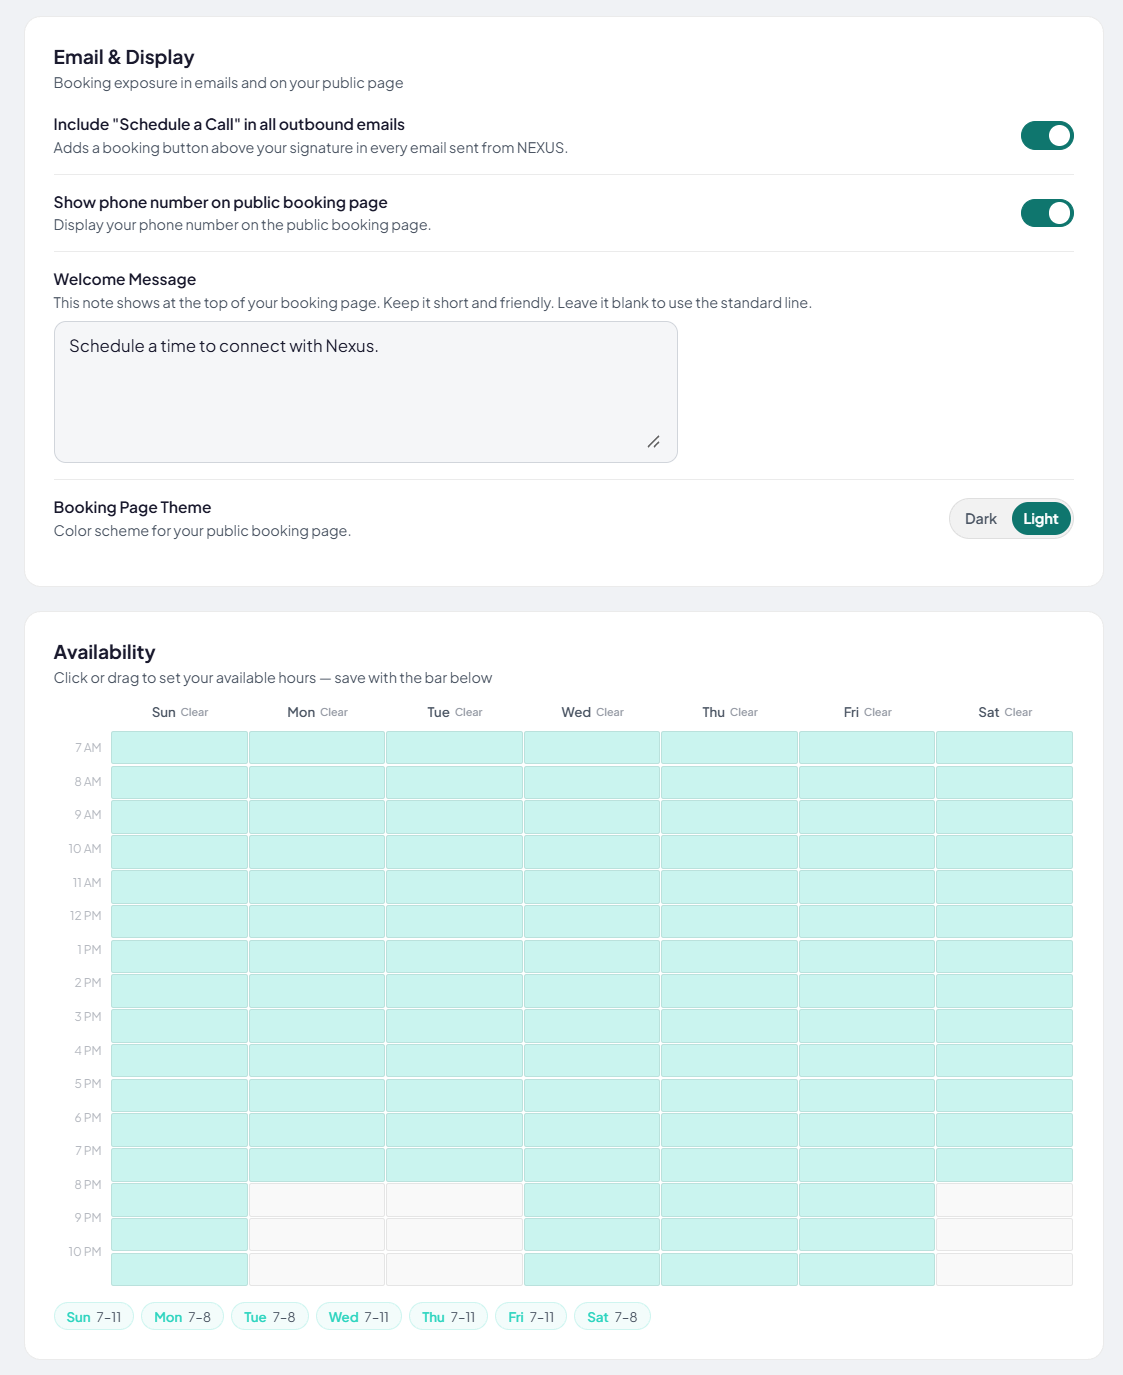
Under Scheduling Rules, pick the Duration, Buffer and Min. Notice, and check Your Timezone. Under Availability, click or drag the hours you are open, then save.
- 6
Set reminders and days off
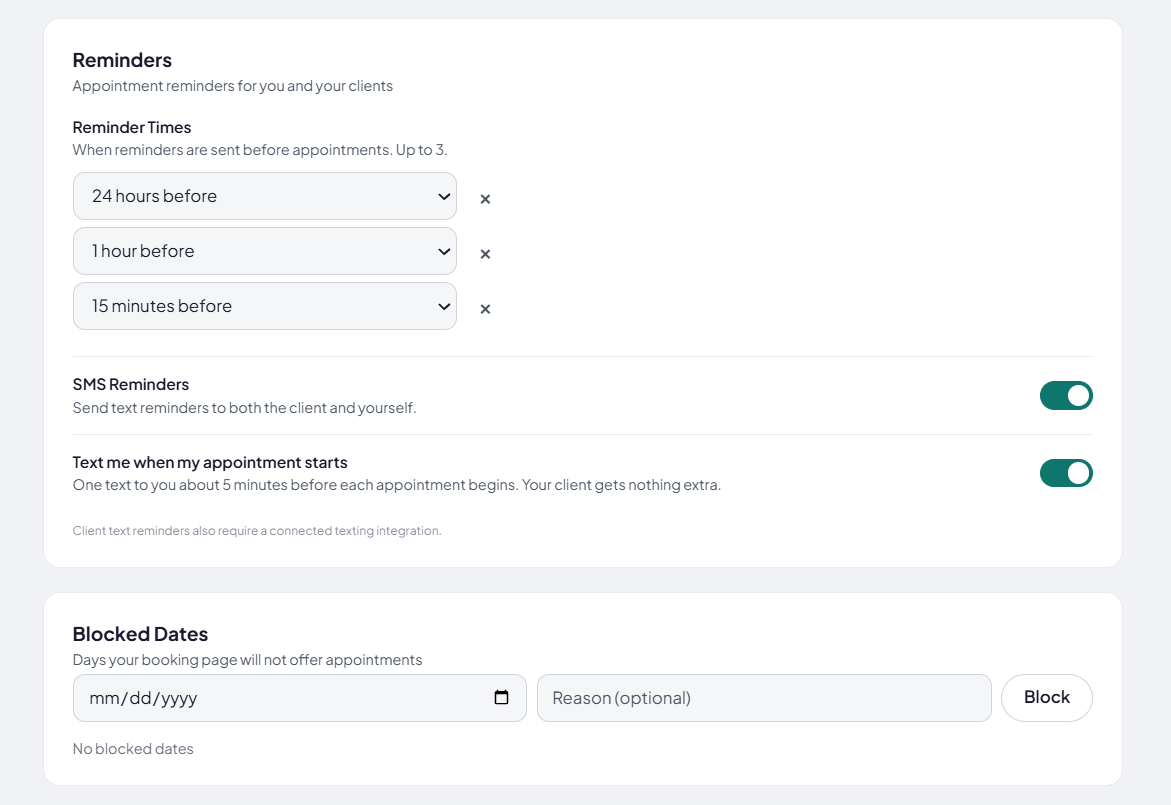
Under Reminders, pick up to 3 reminder times. Turn on SMS Reminders to text them too. Add days off in Blocked Dates.
- 7
Choose what clients see
Under Email & Display, you can add a Schedule a Call button to every email, show your phone number, write a Welcome Message and pick a Light or Dark page.
- 8
Build your booking page
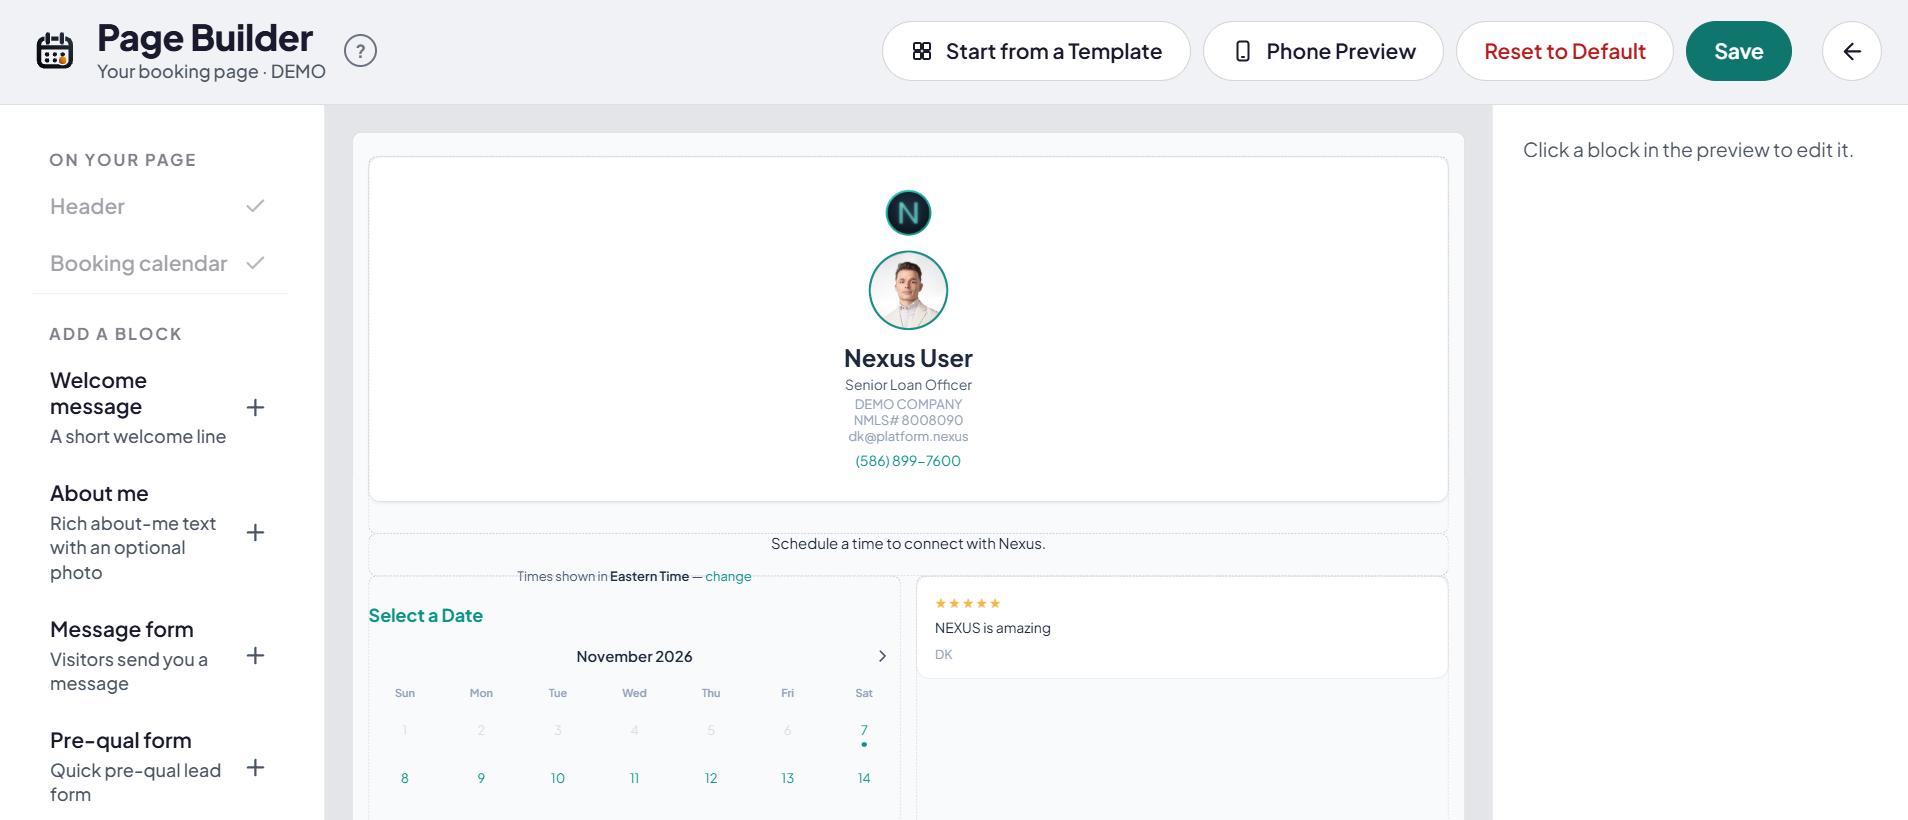
On the Page tab, click Customize Your Booking Page. Add blocks like Reviews or FAQ with the plus, click a block to edit it, and check Phone Preview. Click Save.
Good to know
- Add Event puts your own events on the calendar.
- Client text reminders need a connected texting integration.
- Times use the time zone in your booking settings.
Links
Tell us which step you're on.
Email us what you see on your screen, and we'll get you moving again.